
1 Introduction
Hello, I’m Michael, aka hot dunstable, a passionate chilli grower from the UK.
In this blog, I’ll share with you my proven methods for growing chilli peppers of all
different heat levels using Dutch pro nutrients.
- Introduction
- Preface
- Propagation
- Potting On
- Nutrients And Testing Equipment
- Final Grow Space
- Conclusion
2 Preface
Many people associate chilli peppers with hot and tropical regions, assuming that
they can only thrive in warm climates but contrary to common belief, chilli peppers
can be successfully grown in cooler climates like the UK. With some careful planning
and proper cultivation techniques, you can enjoy bountiful harvests of fiery fruits!
In my journey as a chilli grower, I’ve experimented with various methods, from
organic raised beds to advanced systems like deep water culture. Using coco coir in
self-watering or wicking pots consistently yields superior results for growing chillies.
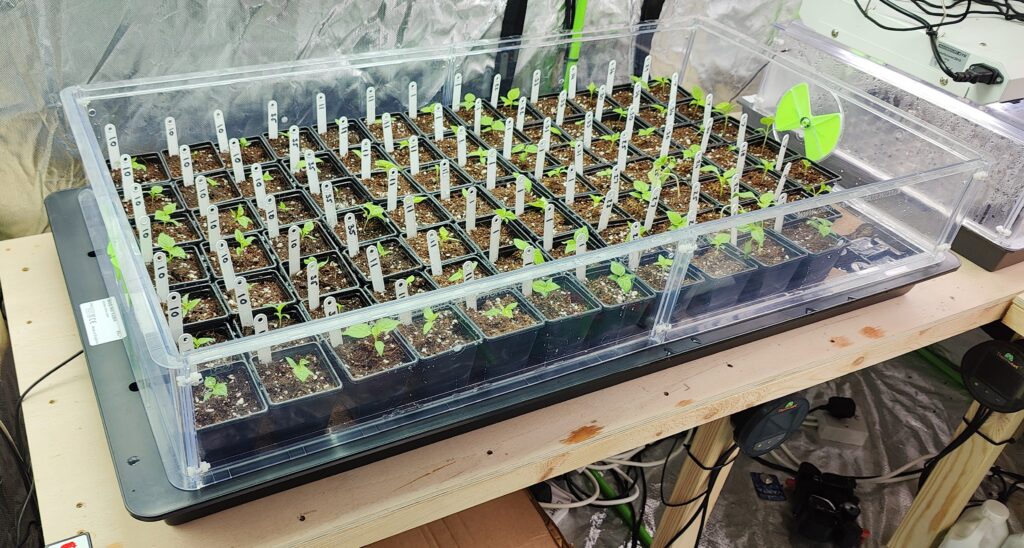
3 Propagation
Success in growing chilli peppers in cooler climates relies heavily on timing.
For my super hot chilli pepper varieties, requiring a longer growing season, I begin
cultivation as early as January or February. Milder varieties can be started later. This
strategic approach ensures plants reach their ideal size before being transferred to
their final growing space.
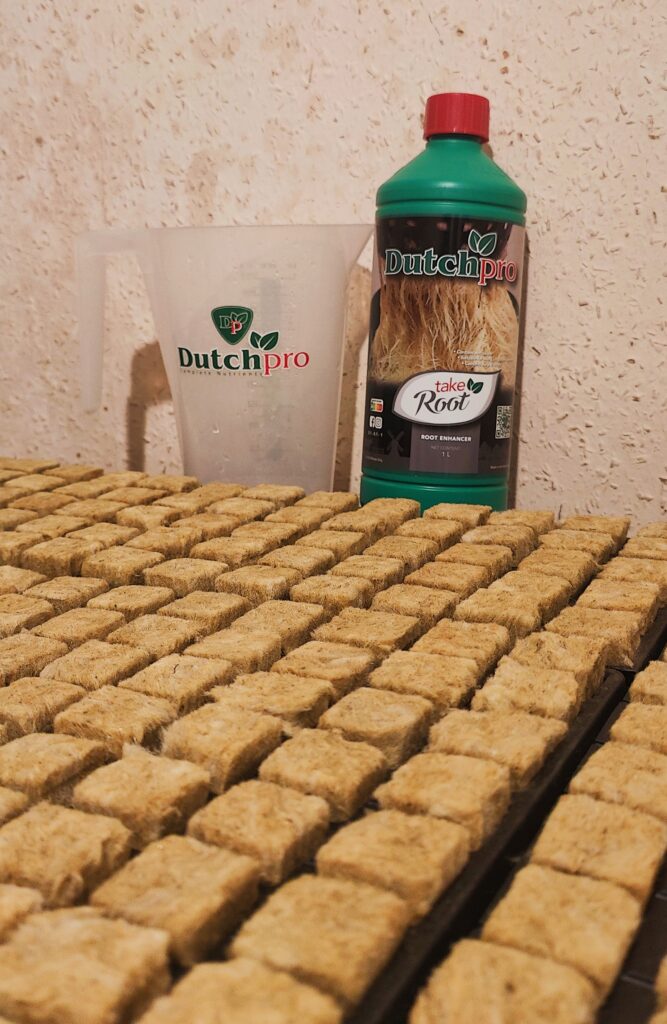
I start with pre-soaking my seeds over night in a mild tea solution then planting them
into rock wool cube trays. These trays are then placed in heated propagators at 28°C
with closed lids and vents for optimal moisture. The humid environment promotes
healthy seedling development.
At this stage, the chilli seedlings do not require any additional nutrients or light.
However, once they start emerging through the cubes, I will turn on the grow lights
for 12 hour cycles, although some growers opt for an 18-hour light cycle to promote
faster growth.
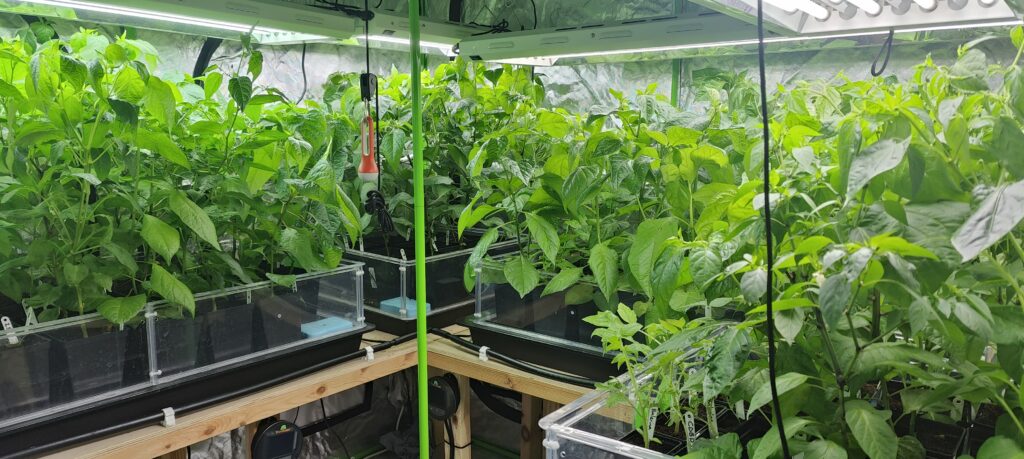
4 Potting On
Once the chilli seedlings have developed roots at the bottom of the cubes and grown
their second set of true leaves, it is time to transplant them into small containers. I pot
up in two stages before they head out into my poly tunnels.
5 Nutrients And Testing Equipment
After potting on, I water the plants using a weaker nutrient solution. I typically aim
for an electrical conductivity (EC) of approximately 1-1.4 and maintain a pH level
between 5.8 and 6.2 during the initial stages of growth.
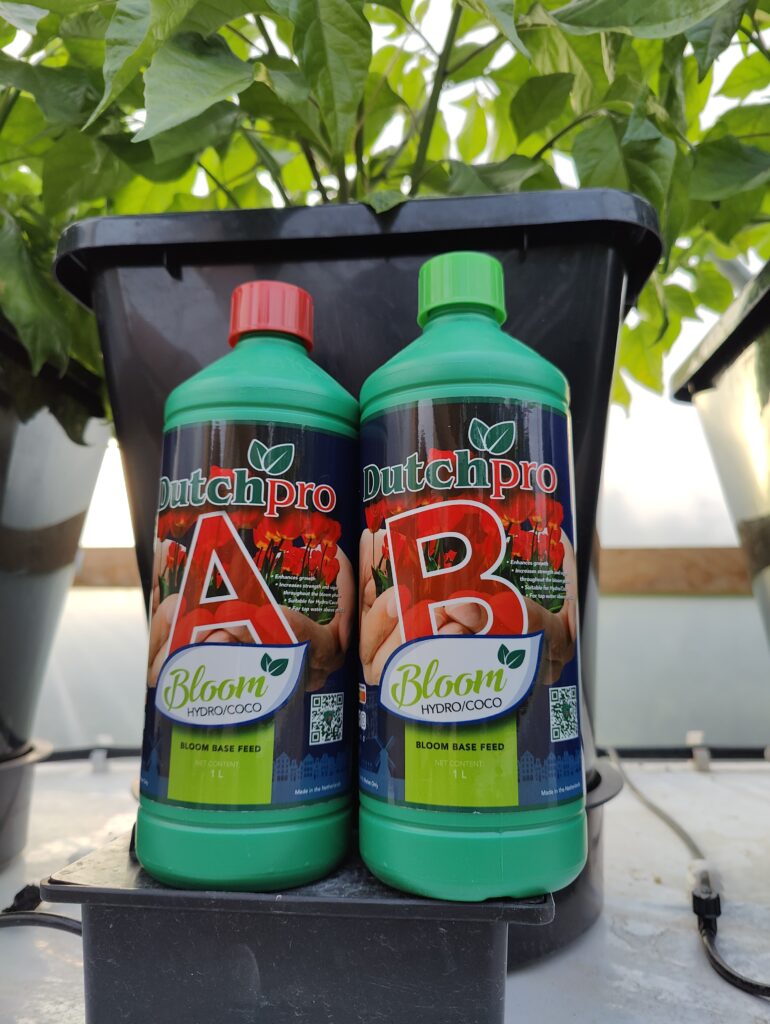
I use equal amounts of Grow A and Grow B to achieve my desired electrical
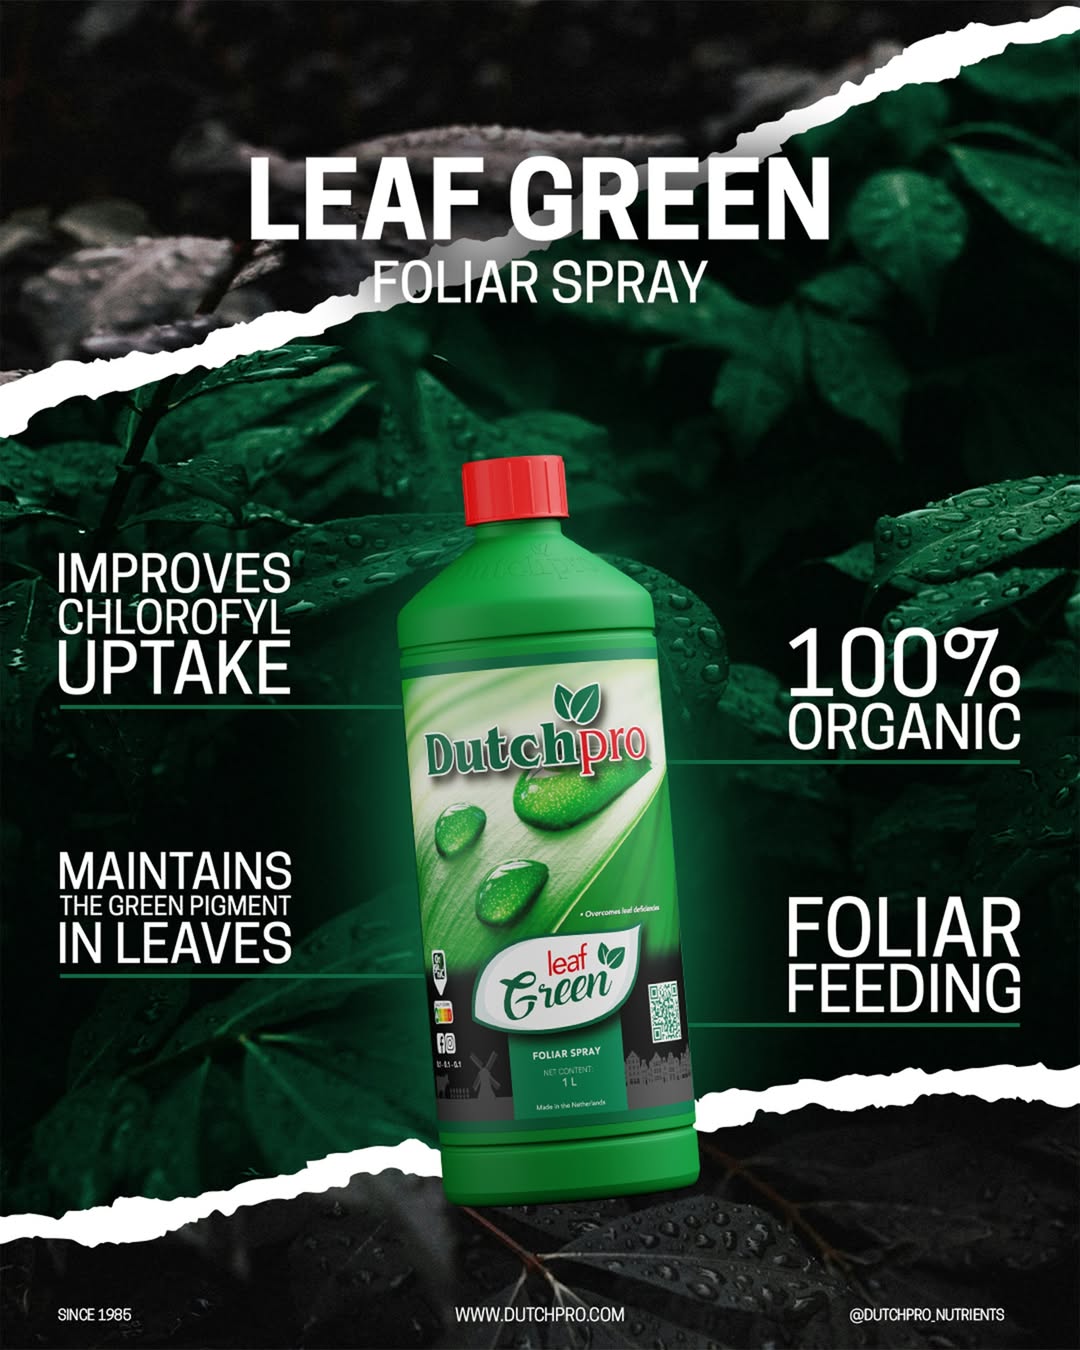
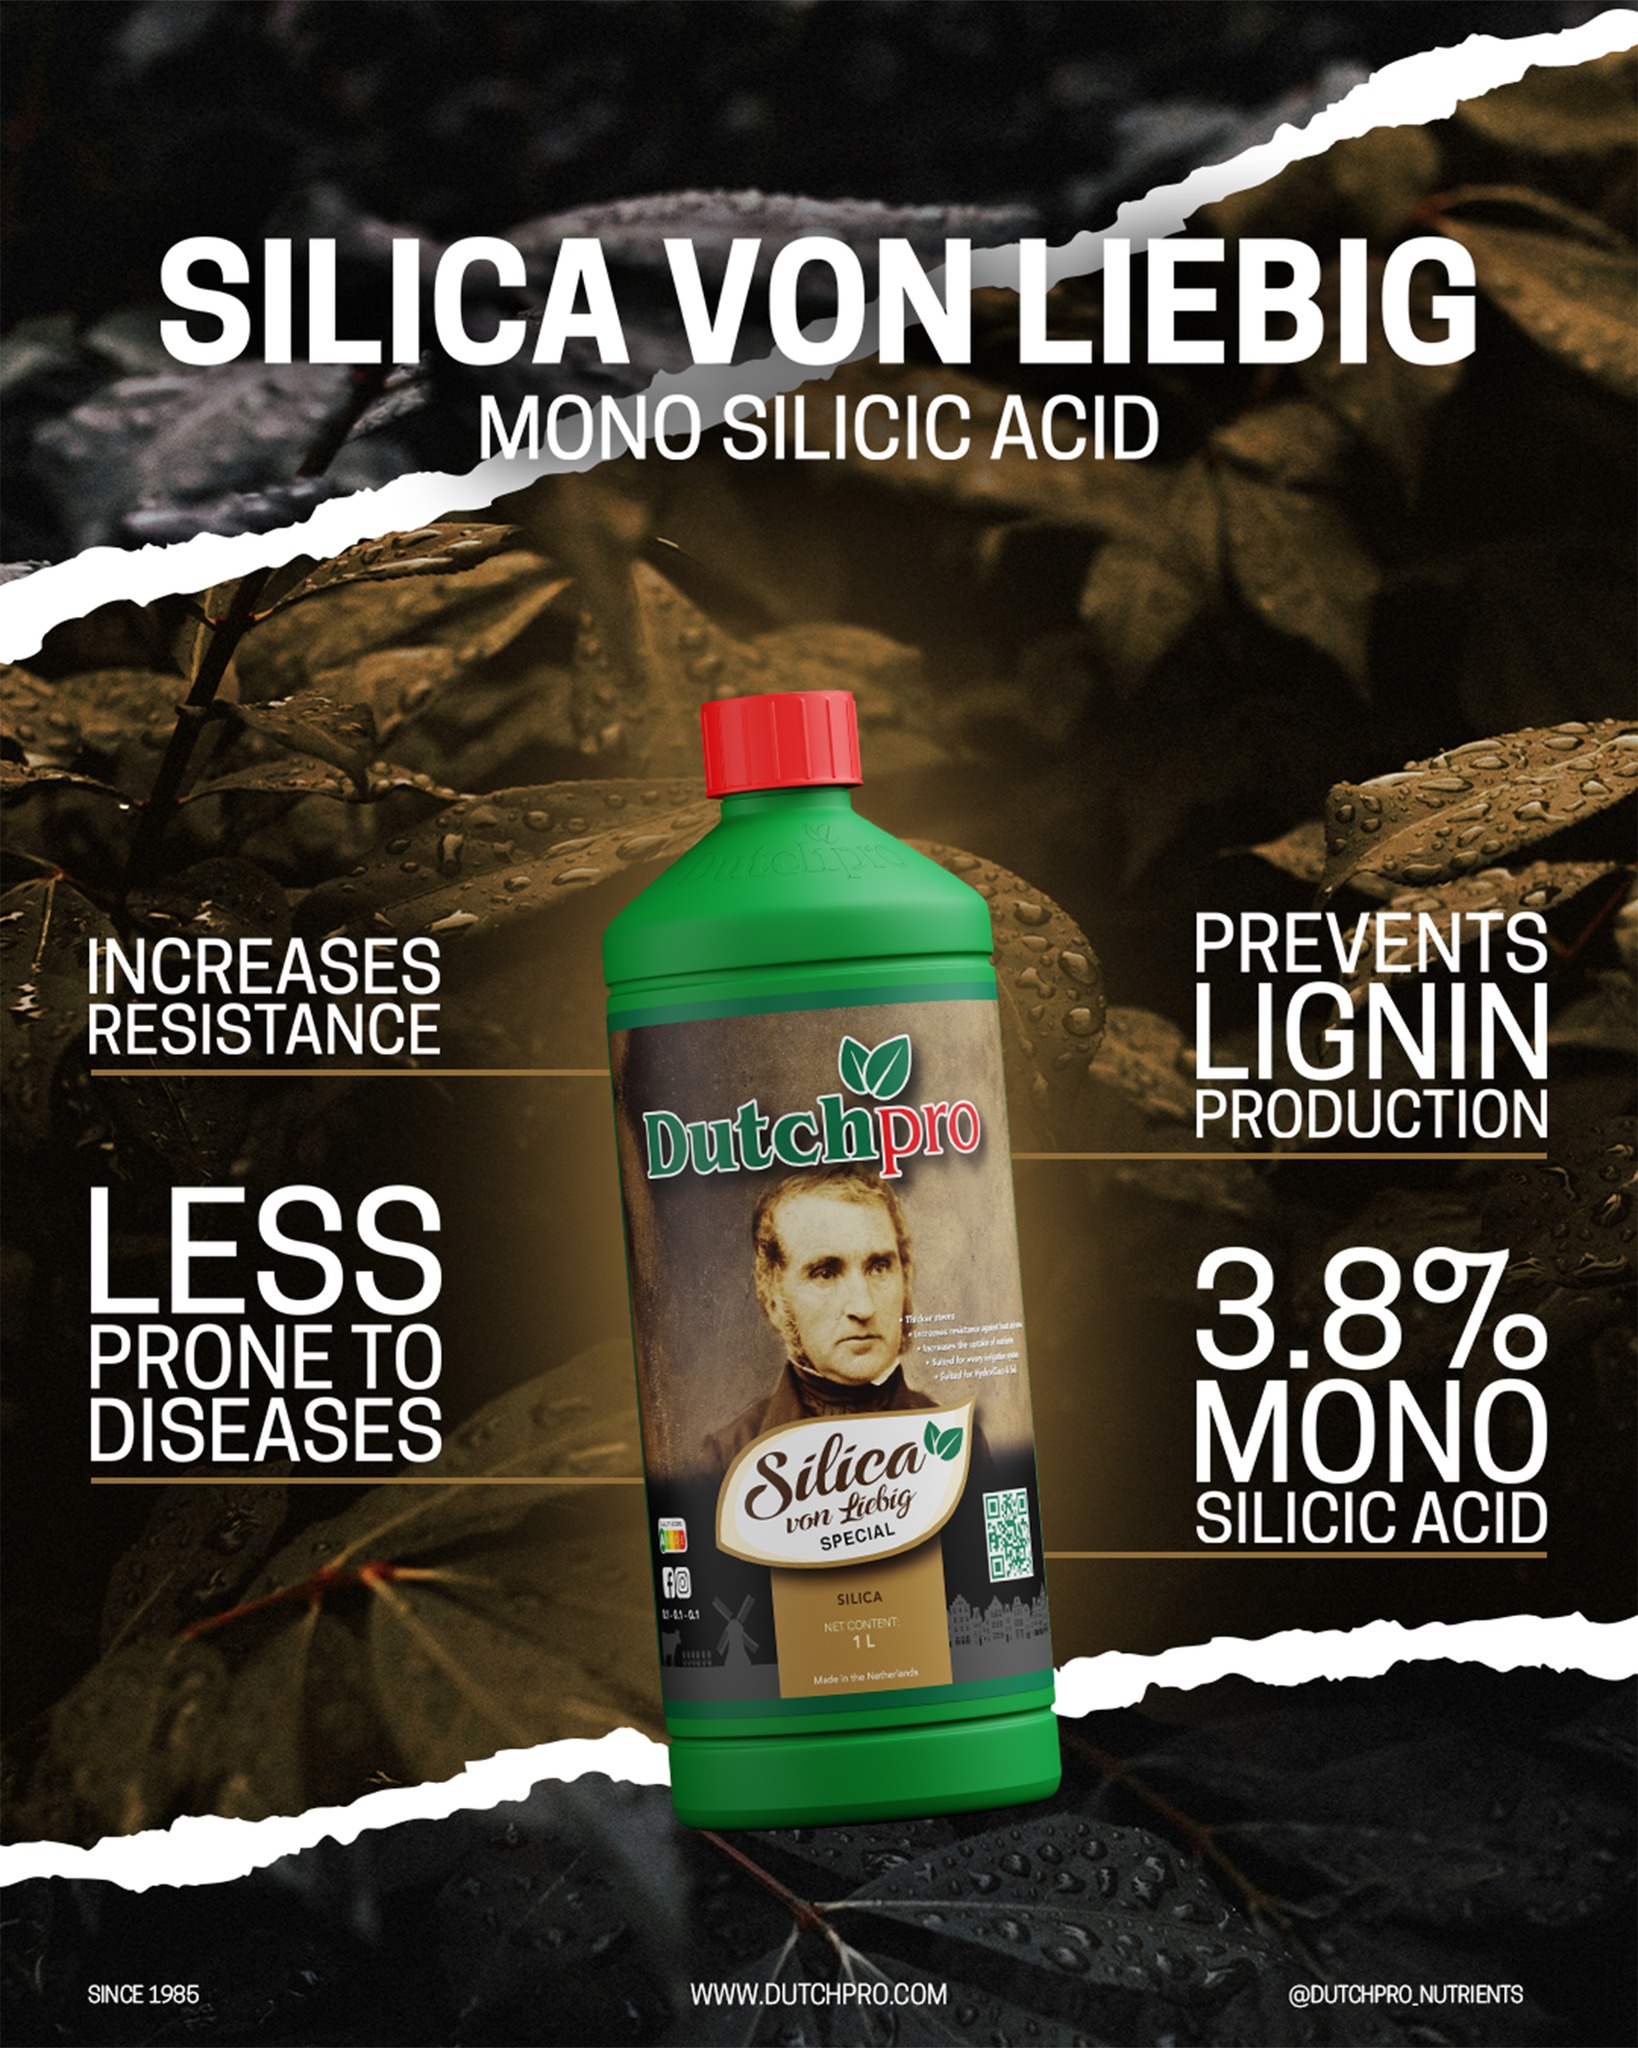
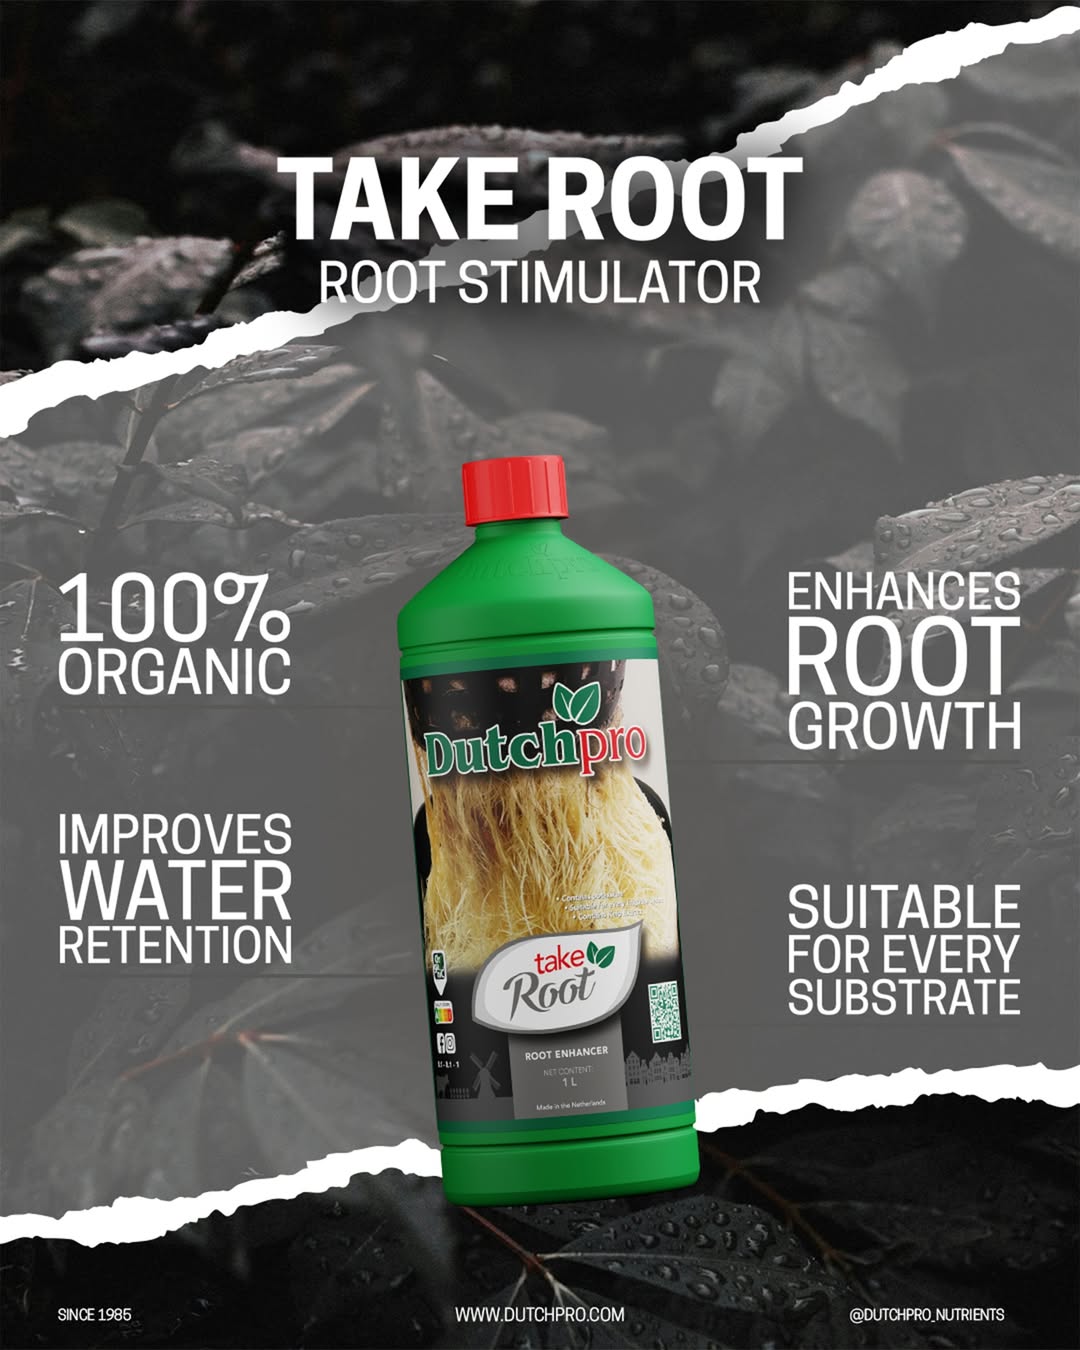
conductivity (EC). I add Take Root to promote root development and Silica to
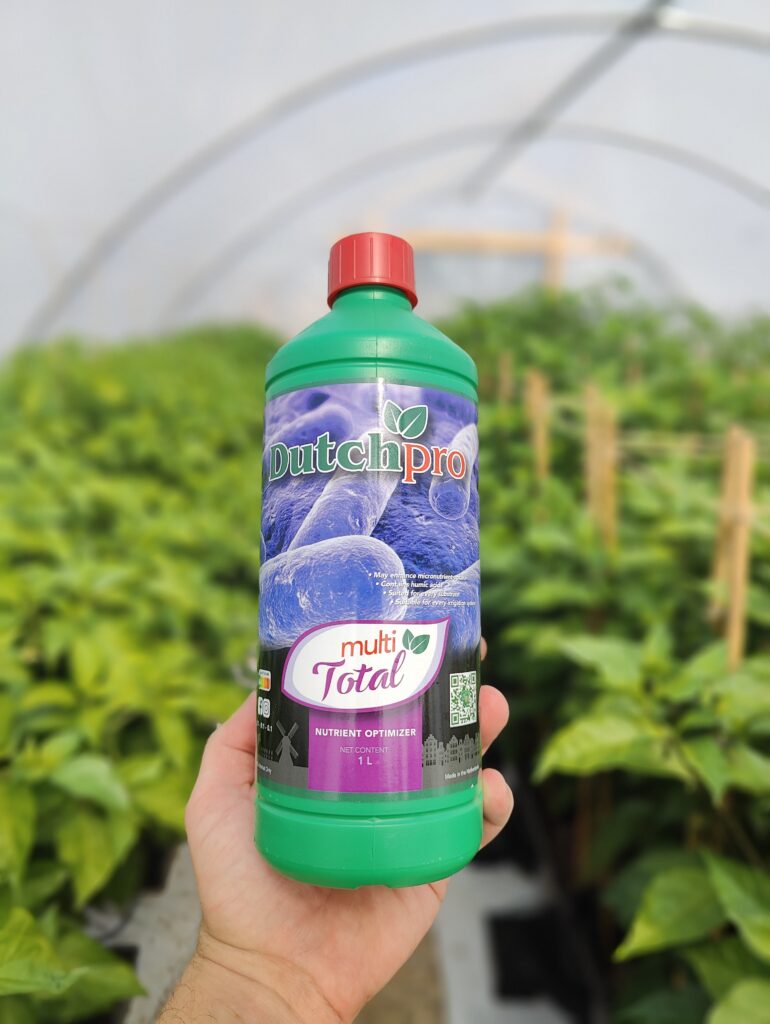
strengthen the plants. Throughout the growth cycle, I administer Multi Total to ensure
the plants receive essential micronutrients.
As important as it is to use quality nutrients, the testing equipment you use is equally
crucial. Cheap testing equipment can provide false results, leading to over
fertilization. I learned this the hard way.
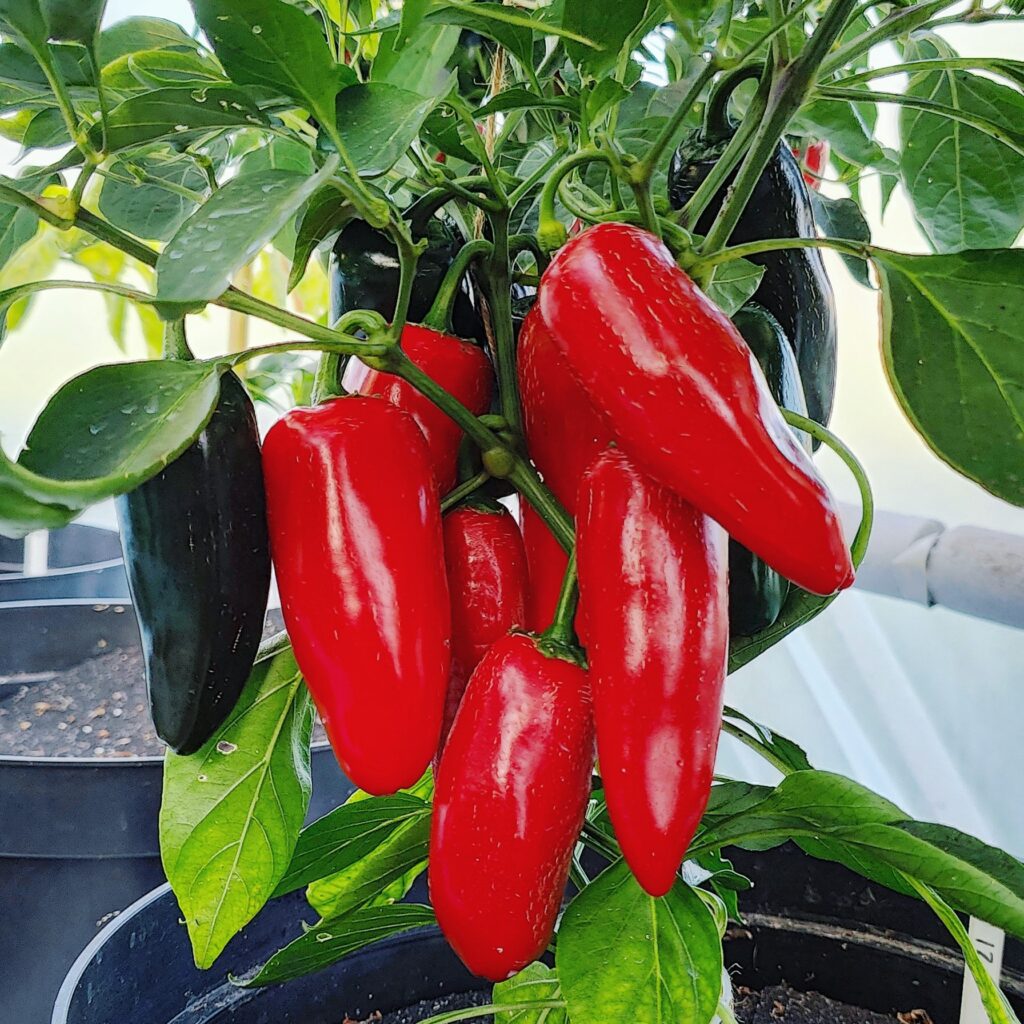
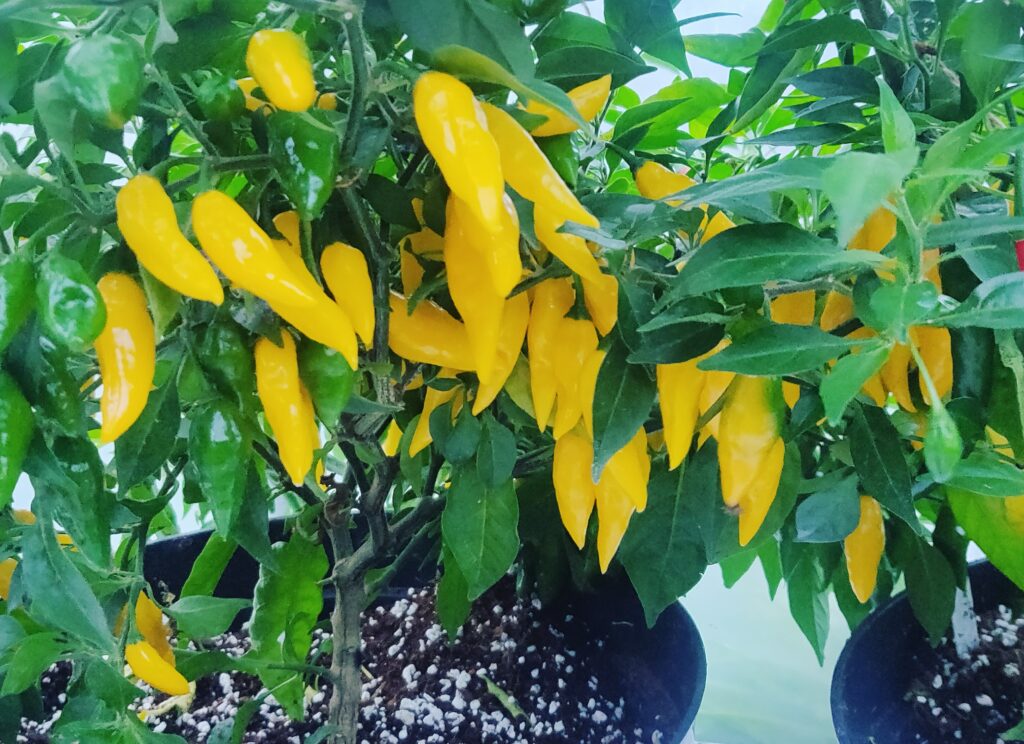
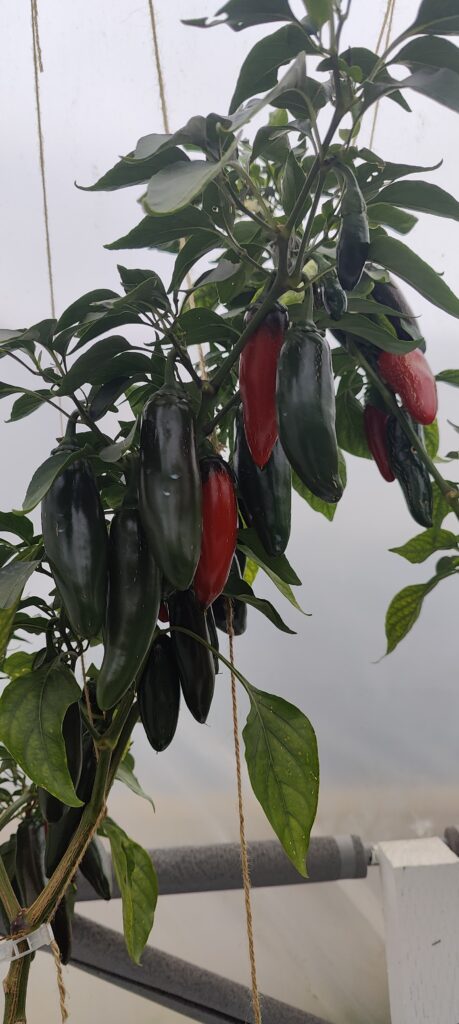
Final Grow Space:
I typically transfer my plants to my poly tunnels around mid to late May, after the last
frost. Chilli plants are relatively hardy, but they don’t thrive when temperatures drop
below 10°C, so I keep a close eye on recent temperatures.
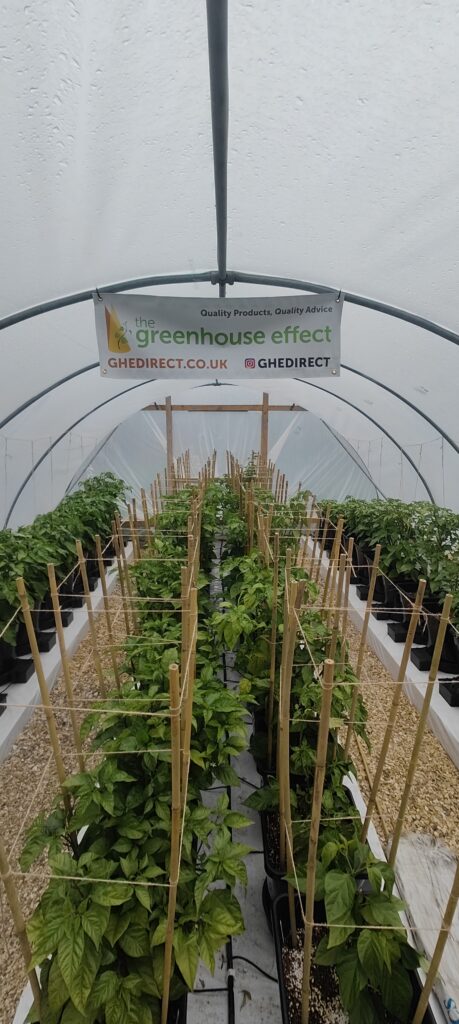
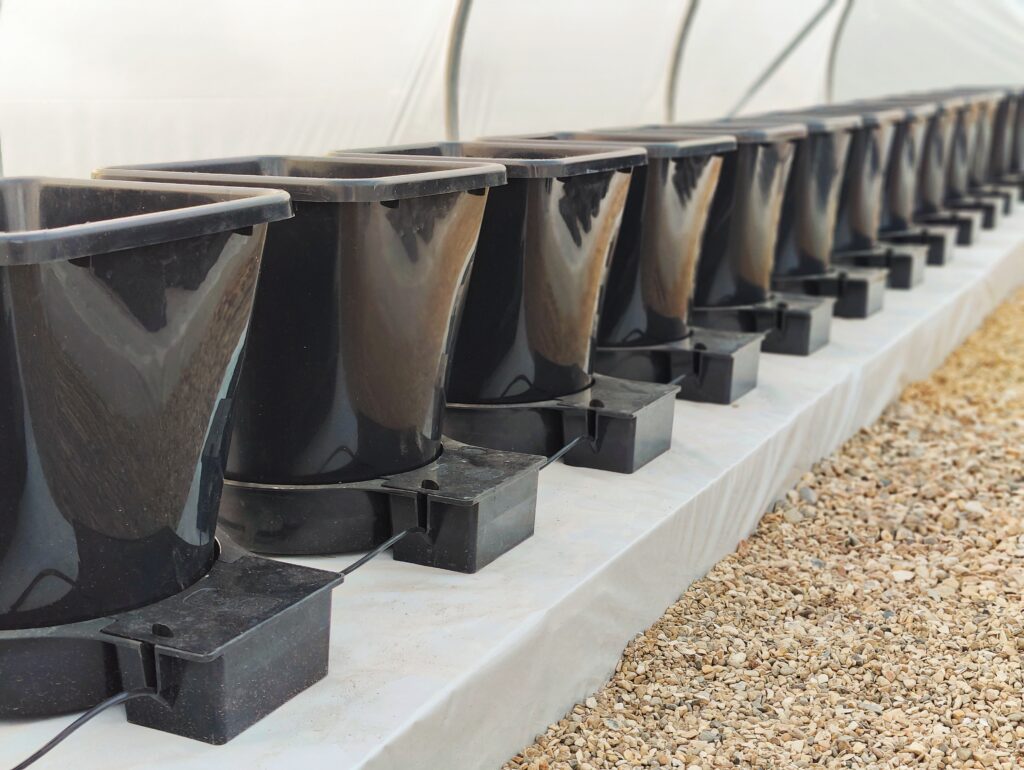
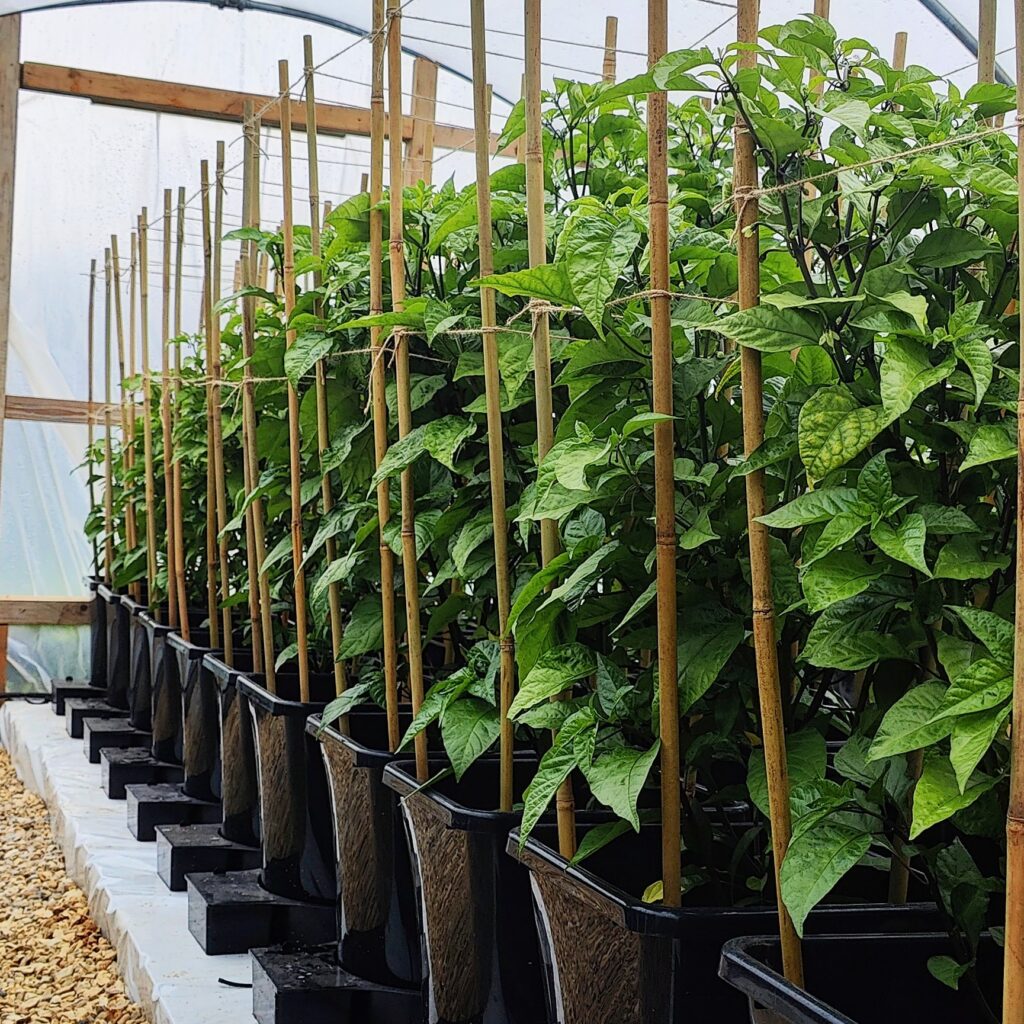
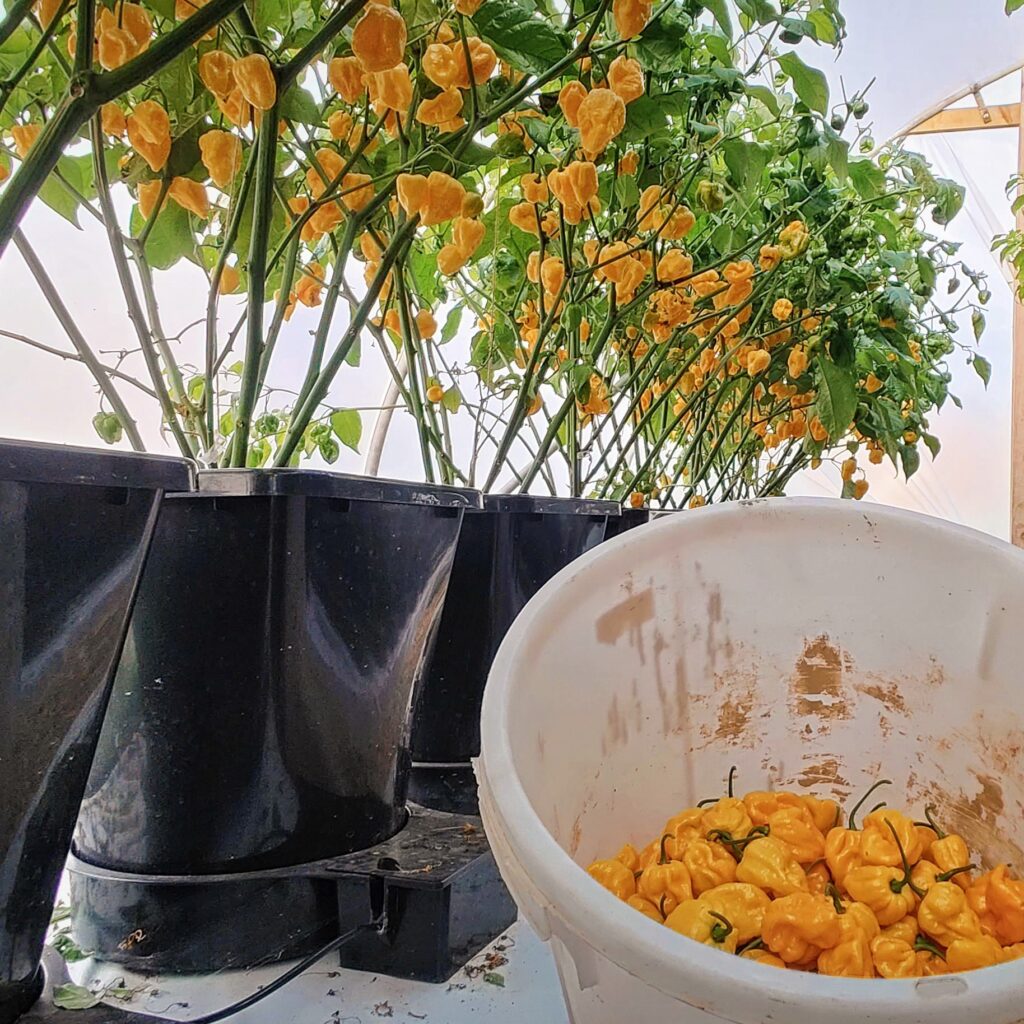
Based on my experience, a pot size of around 15L tends to be the sweet spot for
chillies. However, I also use larger pots, such as 25L fabric smart pots.
After potting on I will hand water for approximately two weeks before activating the
pot valves. This process allows the plant roots to gradually fill up the pots.
I feed my plants with an EC between 1.6 and 1.8. I generally find that there’s no need
to go much higher than this. During exceptionally hot weather, I may even lower the
EC, as plants tend to drink more water than nutrients.
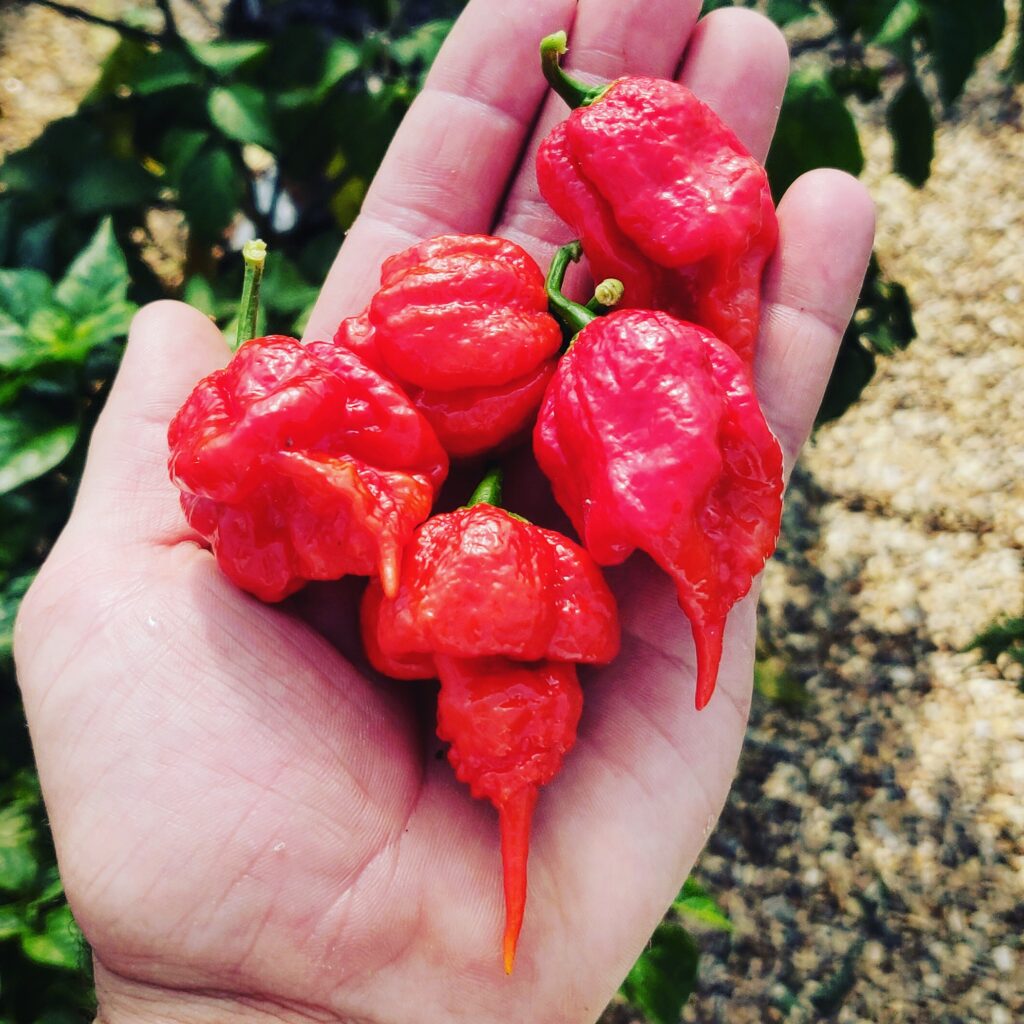
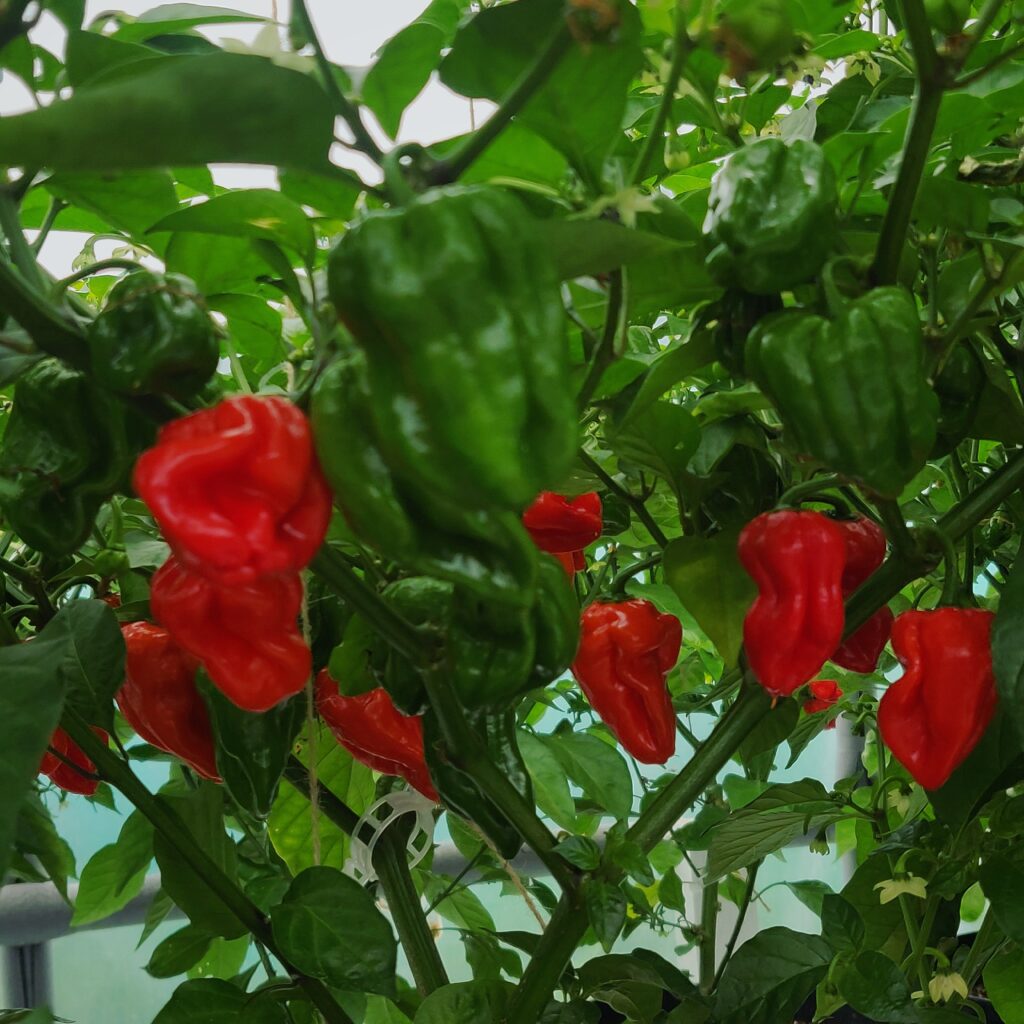
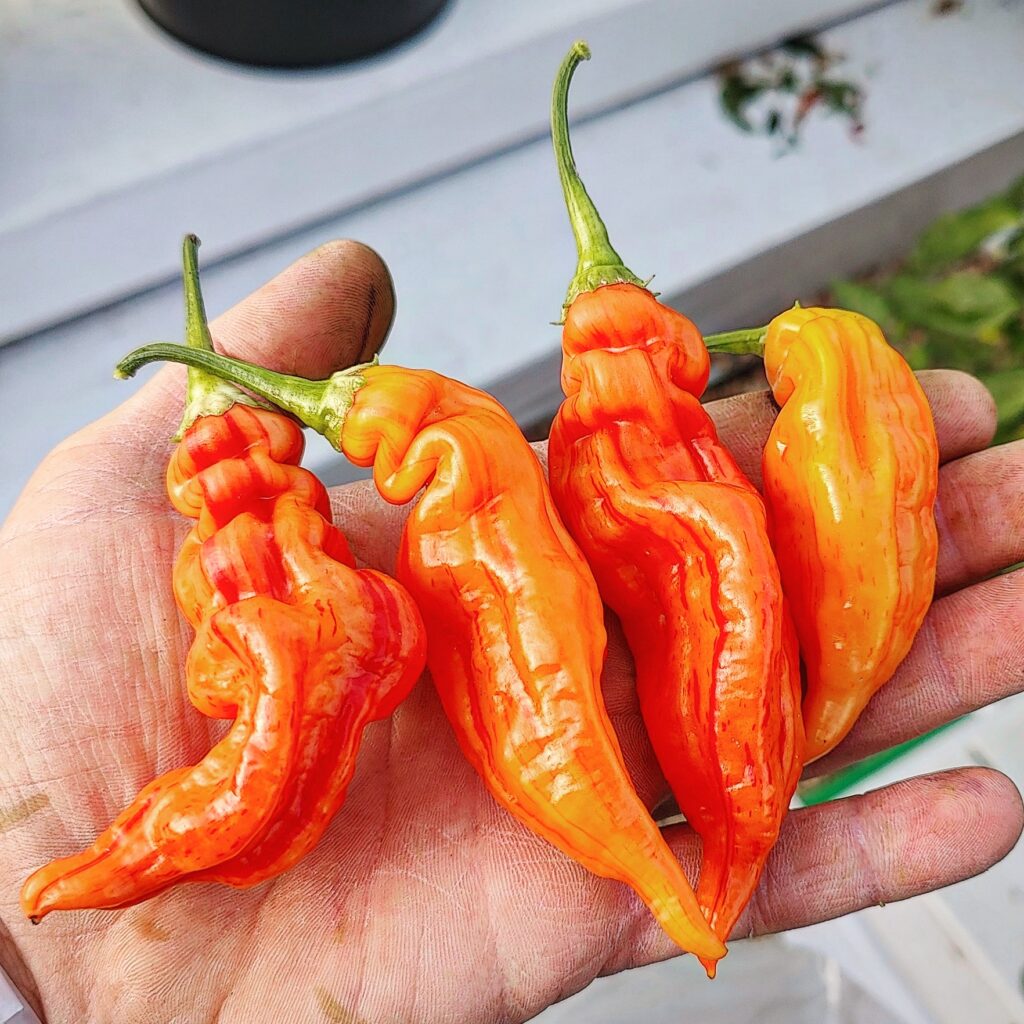
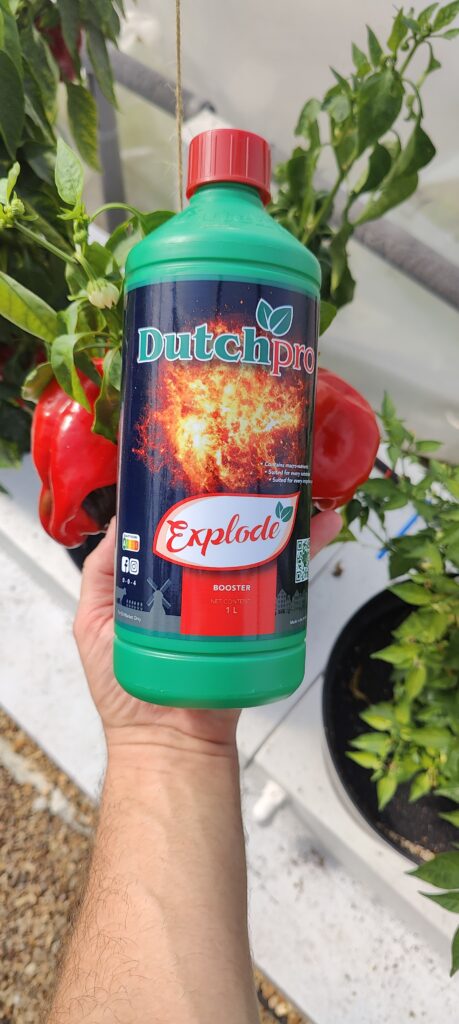
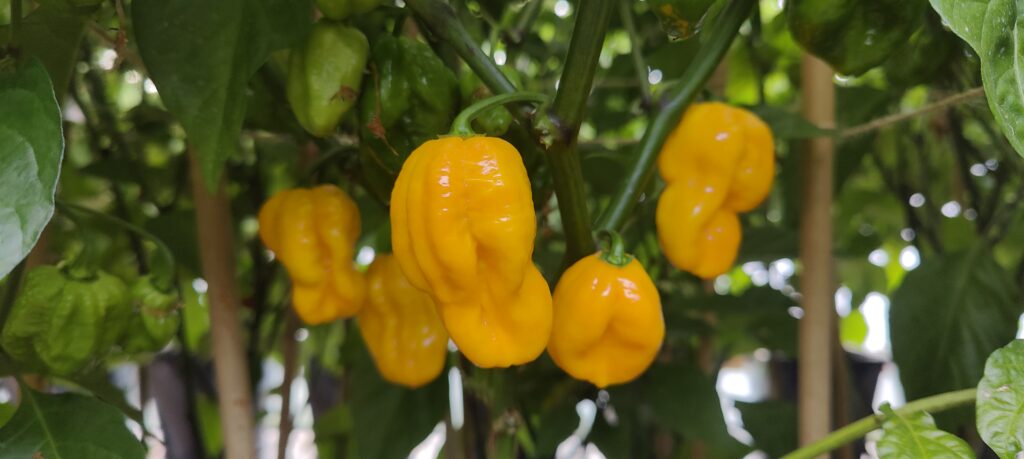
After observing size and flower formation, I switch to Bloom A & B nutrients which
stimulate flowering and fruiting. I will also use “Explode” to really give the plants a
boost!

From my experience, I’ve noticed that coco coir gradually raises the pH over time. To
counteract this, I start with a lower pH and gradually adjust it until the pH in the pot
reaches a ph of 6.3. I apply the same strategy for EC, making adjustments to input
levels if the reservoir exceeds the desired EC.
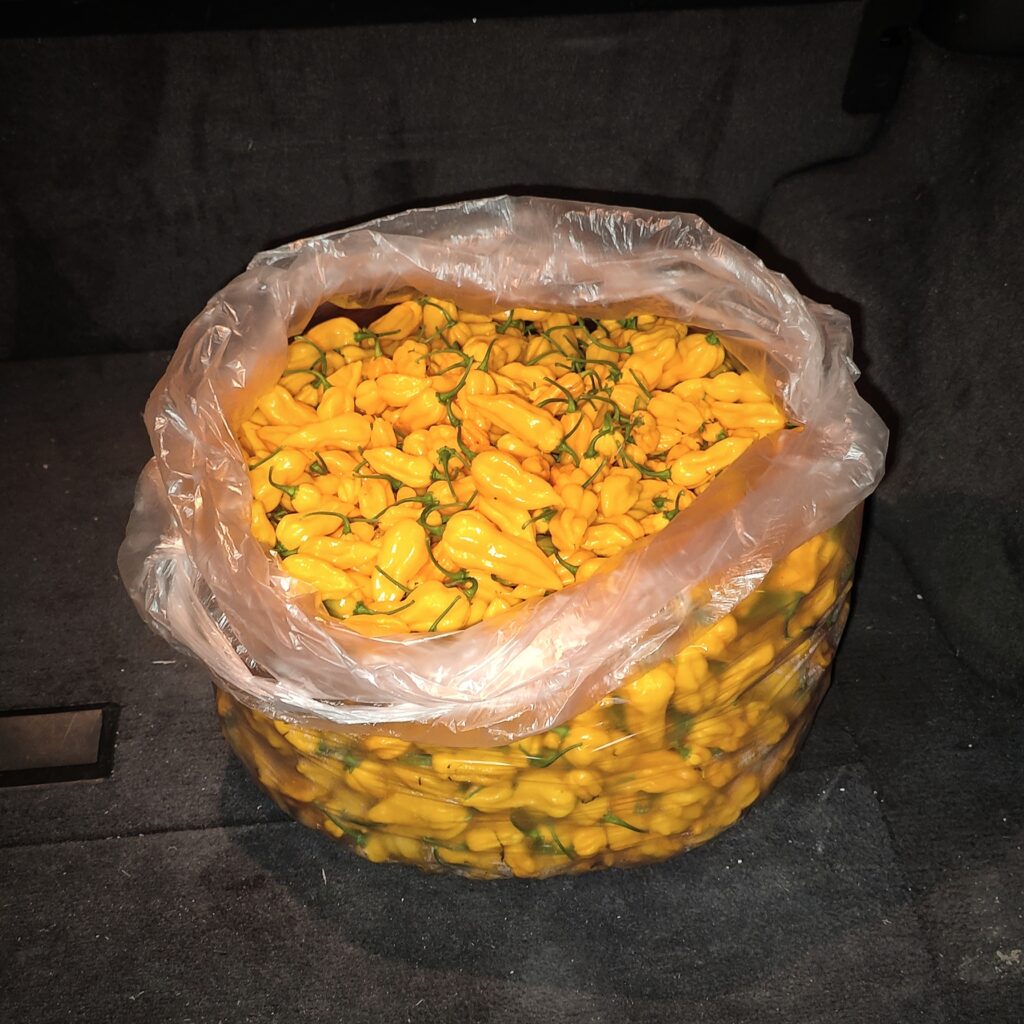
Conclusion:
Voilà! This is my winning formula for growing chilies – a bit technical, but trust me,
It works like a charm! With this method, I’ve managed to yield more chillies per plant
than ever before, and it’s all thanks to the best nutrients on the market – none other
than Dutchpro